
What if you just want to deploy a simple website, nothing fancy, just a static website. You’d like to host it properly but on the cheap. Amazon Web Service (AWS) provides a quick and easy mechanism to do just that using their S3 service.
This post will cover the full process end to end to get your static website hosted on S3 and CloudFront. This post will cover the certificate generation process and the automated deployment of your website using CI/CD from GitLab.
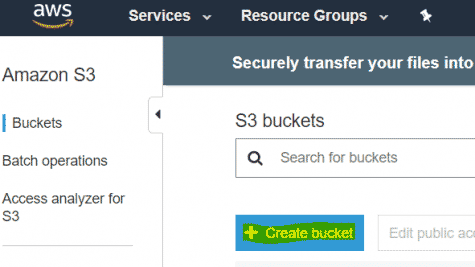
Create S3 Bucket
- Log into AWS Console and go to S3.
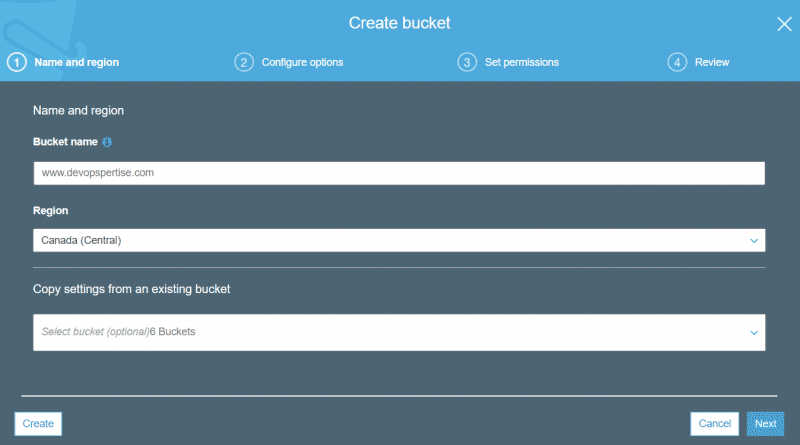
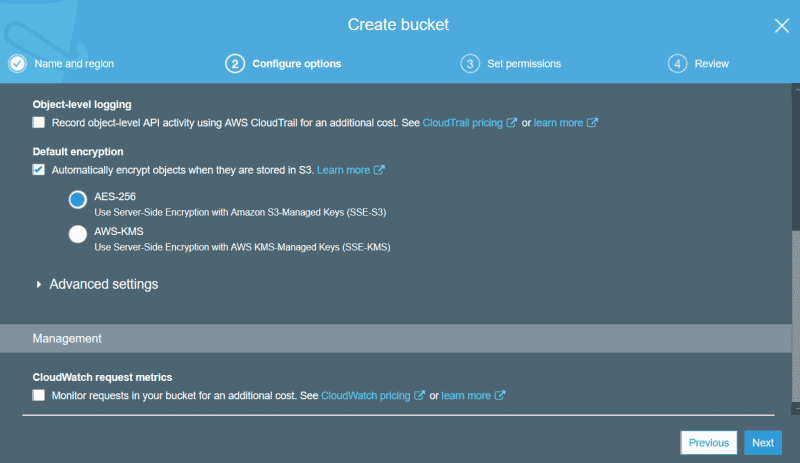
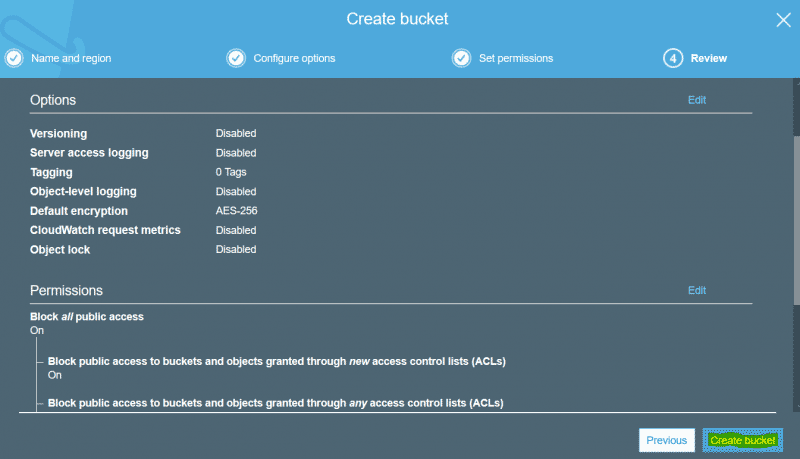
- Create a new bucket, give your bucket a relevant name. Enable AES encryption and block all public access to the bucket.
- Enable redirect to your CNAME.

- Upload some web content to your bucket, like a test index.html file.
Create a Certificate
Amazon has it’s own Certificate Authority (CA), AWS Certificate Manager (ACM) provides the ability to create certificates and automate their renewal. When you create your certificate makes sure you use US East (N. Virginia) Region, this is a requirement when using CloudFront.
- Go to AWS Console and go to Certificate Manager.
- Click Get Started on Provision Certificates and create a Public Certificate.
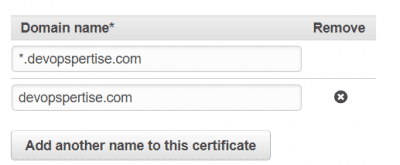
- Add your domain names, in my case I am adding *.devopspertise.com and devopspertise.com
-
Select a validation method, my preference is DNS validation since I own the domain.
-
Review your request and then click Confirm and request.
-
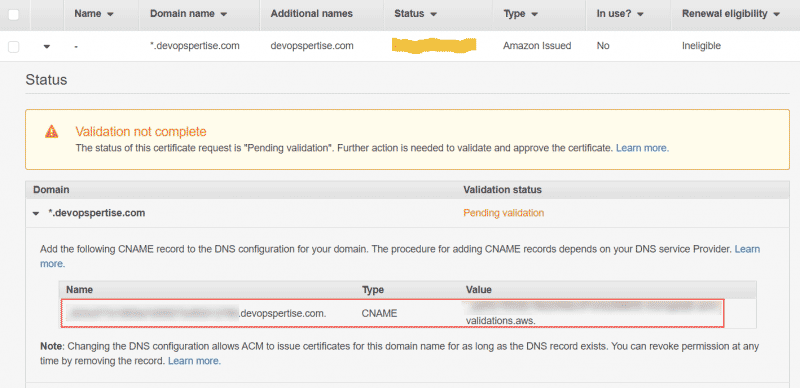
You will be asked to add a CNAME record in DNS. Once you’ve added the record, the certificate will be issued by Amazon. Validation occurs very quickly after you’ve added the CNAME record. Going forward you need to leave this CNAME record in DNS so Amazon can issue certificates.

After you’ve integrated this certificate with CloudFront, the renewal eligibility will change to eligible.
Create CloudFront Distribution
- Go to AWS Console and go to CloudFront.
- Create a new web distribution.
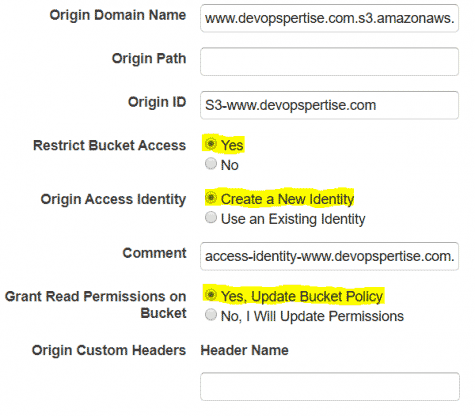
- Select your S3 bucket from earlier as the Origin Domain Name.
- Set Restrict Bucket Access to Yes.
- Set Origin Access Identity to Create a New Identity.
- Set Grant Read Permission on Bucket to Yes, Update Bucket Policy.
- Set Viewer Protocol Policy to Redirect HTTP to HTTPS.
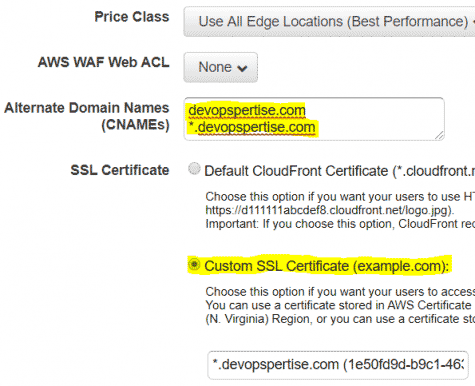
- Add alternate CNAMEs.
- Add Custom SSL Certificate that we created in the previous step.
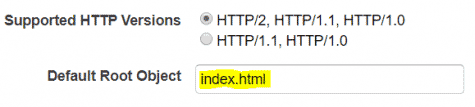
- Set Default Root Object to your landing page (eg. index.html).

-
Create your distribution, it will take some time to deploy it.
-
If you’re curious you can check out your S3 bucket policy now, it’s been updated to provide access to CloudFront.

-
Test your distribution url to ensure it’s working as anticipated.
-
Add your CNAME record in DNS to point to your CloudFront distribution.
Setup CI/CD for GitLab Integration
Create User
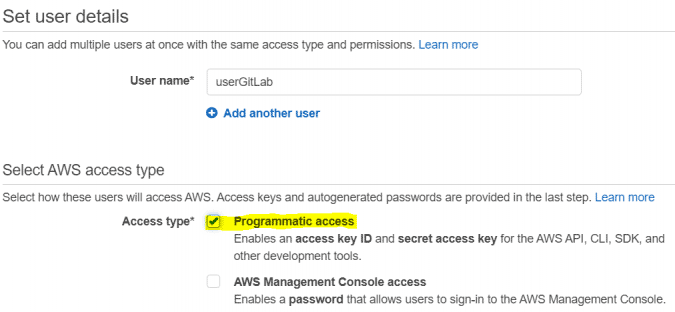
Before we can configure the GitLab pipeline, we need to create a new user and assign a permissions policy so it can access and modify our S3 bucket.
-
Go to AWS Console and go to IAM > Users.
-
Click Add User.

- Click Create Policy, a new browser tab will open.

- Create the policy using the visual editor, or copy the snippet below in the JSON editor.

{
    "Version": "2012-10-17",
    "Statement": [
        {
            "Sid": "VisualEditor0",
            "Effect": "Allow",
            "Action": [
                "s3:PutObject",
                "s3:GetObject",
                "s3:ListBucket",
                "s3:DeleteObject"
            ],
            "Resource": [
                "arn:aws:s3:::www.devopspertise.com",
                "arn:aws:s3:::www.devopspertise.com/*"
            ]
        }
    ]
}
- Go back to the Add User tab, refresh the policies and attach your newly created policy. Create the account.
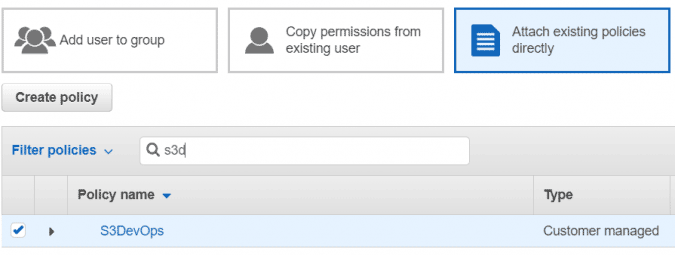
- Take note of the Access key ID and the Secret access key, these will be used when we setup GitLab pipeline.
Create Pipeline
-
Create a new GitLab project or use an existing one.
-
Go to the project, from the left menu bar select Settings > CI / CD.
-
Scroll down to variables and add the variables below with the Access key ID and the Secret access key captured previously.
- AWS_ACCESS_KEY_ID
- AWS_SECRET_ACCESS_KEY

-
If you have no files in your project add a test file.
-
Create a new file named .gitlab-ci.yml and update BUCKET_NAME and BUCKET_LOCATION.
stages:
  - deploy

variables:
  BUCKET_NAME: yourBucketName
  BUCKET_LOCATION: yourBucketLocation

deploy:
  stage: deploy
  image: "python:latest"
  before_script:
    - pip install awscli
  script:
    - aws s3 cp $CI_PROJECT_DIR s3://${BUCKET_NAME} --recursive --exclude ".git/*"
  environment:
    name: 's3-deploy'
    url: http://${BUCKET_NAME}.${BUCKET_LOCATION}
  only:
    - master
- Your GitLab pipeline will now execute and copy your repository to your S3 bucket.
