This post builds off another post where we did an automated Internet Information Services (IIS) deployment using Deployment Groups and an Azure Classic pipelines. The pipeline automated the deployment of an IIS website with a certificate bound using Central Certificate Store (CCS).
In this post we will cover how to do the same thing using YAML pipelines and Environments. Keep in mind this is just a basic pipeline, it does not have static code analysis, unit tests, code coverage, penetration testing etc… all of that is not part of this guide, it would be extremely lengthy.
This pipeline was developed for a single instance of IIS. However, it should work with an IIS cluster with shared configuration and content assuming you target a single instance from the cluster.
What Are YAML pipelines?
YAML pipelines are the preferred mechanism to perform Continuous Integration/Continuous Deployment (CI/CD) in Azure DevOps. This is true because YAML pipelines are stored in version control and are versioned along side all your other code.
YAML pipelines provide great flexibility through re-usability and templating. This allows large organizations to utilize similar build and deployment patterns with minimal effort.
It is recommended to use YAML pipelines. Avoid using Classic pipelines whereever possible.
What Are Environments?
To me it feels like Environments are a direct replacement for Deployment Groups. They share similar characteristics as Deployment Groups. You have the ability to create multiple Environments. You can add approvals and other checks with ease. With approvals controlled at the environment level, you get consistency across all of your pipelines.
YAML pipelines support Environments, but they do not support Deployment Groups.
The installation process is the same as Deployment Groups. You run a scripted installation using a Personal Access Token (PAT) token. You can also target Kubernetes namespace, if you are working with containerized deployments.
Since the Azure Pipelines agent works as a polling agent, there is very little required from a firewall perspective, as long as your server has outbound connectivity to the Internet there should be nothing standing in the way of installing and configuring the Azure Pipelines agent.
Create An Environment
- Log into Azure DevOps.
- Choose your Organization and Project.
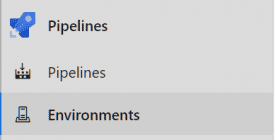
- Go to Pipeline > Enviroments.
- On the top panel click New environment.
- Give the environment a name and description, select Virtual machines click Create.

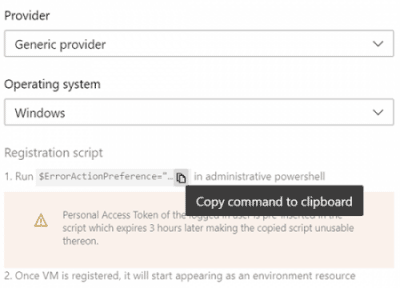
On-board Server to Environment
- On the next screen, click on Copy command to clipboard.
- Now log into the server you want to use for this Environment.
- Right click on the Start Menu, go to Command Prompt (Admin) or Windows PowerShell (Admin). If using Command Prompt, type powershell and press Enter.
- Paste the script in the PowerShell window and press Enter.
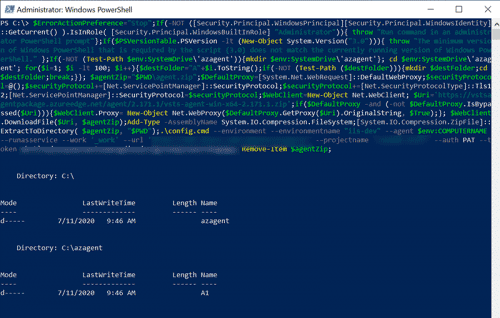
- Accept the defaults. By default the Azure Pipelines agent service runs under the NT AUTHORITY\SYSTEM account.
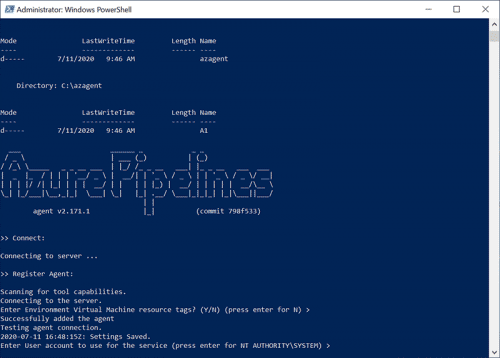
You can install using a service account. You will need to grant the service account with the required permissions to perform pipeline actions.
Validate Install
- Check that the service is running as described.
Get-Service "vstsagent*"

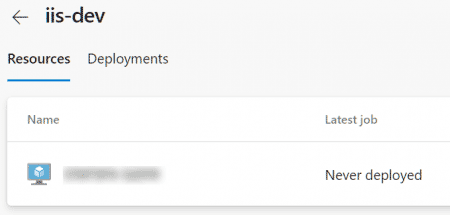
- Check the Environment to see target is now listed.
Prepare Pipeline
Create Azure Key Vault
- From Azure Portal, create a new Key Vault or use an existing Key Vault.
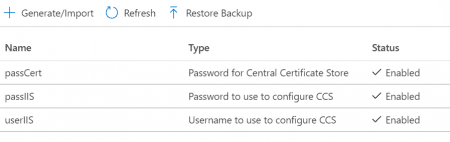
- Create some secrets.
| Variable Name | Value |
|---|---|
| userIIS | Username to use to configure Central Certificate Store (CCS) |
| passIIS | Password to use to configure CCS |
| passCert | Password used for certificates in CCS |
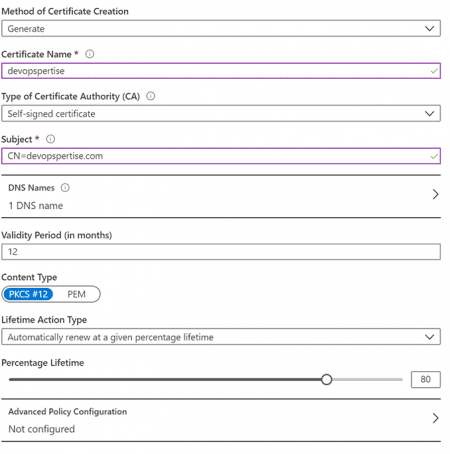
- Generate or import a certificate for your website, in this example I am using a self signed certificate SAN certificate generated and stored in a Key Vault. You can forgo this process and put your certificate directly on the server if you choose to do so.
Create Service Principal and Service Connection
- Create a new Service Principal.
- Grant the Service Principal with Reader access at the Resource Group level that contains the Key Vault.
- Grant the Service Principal read+list permissions for Secret and Certificate in the Key Vault.
- Create a new Service Connection using the Service Principal and secret.
Create Variable Group
- From Azure DevOps, go to Pipelines > Library.
- Go to + Variable group.
- Create a Variable group like the screenshot below, use the service connection you configured in the previous step.
Create Pipeline
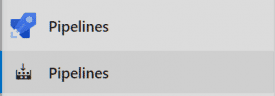
- From Azure DevOps, go to Pipelines > Pipelines.
- On the top panel click New pipeline.
- Choose where your repository, we are using Azure Repos Git. Microsoft caters towards GitHub, this is illustrated in a lot of their documentation.
- Choose Starter pipeline.
- Use the following YAML pipeline and make adjustments as you require.
trigger:
- master

variables:
- group: 'IIS Secret' # variable group
- name: 'certStoreFolder'
  value: 'C:\certs'
- name: 'cert'
  value: '$(devopspertise)'
- name: 'toggleCert'
  value: '$true'
- name: 'toggleCertStore'
  value: '$true'
- name: 'websiteName'
  value: 'www.devopspertise.com'
- name: 'solution'
  value: '**/*.sln'
- name: 'buildPlatform'
  value: 'Any CPU'
- name: 'buildConfiguration'
  value: 'Release'
- name: 'system.debug'
  value: 'true'

pool:
  vmImage: 'windows-latest'

stages:
- stage: Build
  jobs:
  - job: BuildJob
    steps:
    - task: NuGetToolInstaller@1
    - task: NuGetCommand@2
      inputs:
        restoreSolution: '$(solution)'
    - task: VSBuild@1
      inputs:
        solution: '$(solution)'
        msbuildArgs: '/p:DeployOnBuild=true /p:WebPublishMethod=Package /p:PackageAsSingleFile=true /p:SkipInvalidConfigurations=true /p:PackageLocation="$(build.artifactStagingDirectory)"'
        platform: '$(buildPlatform)'
        configuration: '$(buildConfiguration)'
    - task: VSTest@2
      inputs:
        platform: '$(buildPlatform)'
        configuration: '$(buildConfiguration)'
    - task: PublishBuildArtifacts@1
      inputs:
        PathtoPublish: '$(Build.ArtifactStagingDirectory)'
        ArtifactName: 'drop'
        publishLocation: 'Container'

- stage: Deploy
  displayName: Deploy to IIS
  dependsOn: Build
  jobs:
  - deployment: DeploytoIIS
    displayName: Deploy the web application to dev environment
    environment:
      name: iis-dev
      resourceType: VirtualMachine
    strategy:
      runOnce:
        deploy:
          steps:
          - task: DownloadBuildArtifacts@0
            inputs:
              buildType: 'current'
              downloadType: 'specific'
              downloadPath: '$(System.ArtifactsDirectory)'
          - task: PowerShell@2
            inputs:
              targetType: 'inline'
              script: |
                function certStore {
                    Set-ItemProperty -Path HKLM:\SOFTWARE\Microsoft\IIS\CentralCertProvider\ -Name CertStoreLocation -Value "$(certStoreFolder)"
                    Set-ItemProperty -Path HKLM:\SOFTWARE\Microsoft\IIS\CentralCertProvider\ -Name Enabled -Value 1
                    Set-WebCentralCertProvider -UserName "$(userIIS)" -Password "$(passIIS)" -PrivateKeyPassword "$(passCert)"
                }

                # Install IIS
                if(!(Get-WindowsOptionalFeature -Online -FeatureName "IIS-WebServer").State -eq "Enabled") {
                    Write-Host "Installing IIS..."
                    Install-WindowsFeature -Name Web-Server -IncludeAllSubFeature -IncludeManagementTools
                }
                else {
                    Write-Host "IIS-Webserver is already enabled - skipping IIS installation."
                }

                # Configure Central Certificate Store
                Write-Host "toggleCertStore: $(toggleCertStore)"
                if($(toggleCertStore)) {
                    if(!(Test-Path "$(certStoreFolder)")) {
                        Write-Host "$(certStoreFolder) does not exist - configuring Central Certificate Store."
                        New-Item -Path "$(certStoreFolder)" -ItemType "directory"
                        certStore
                    }
                    else {
                        Write-Host "$(certStoreFolder) exists - configuring Central Certificate Store."
                        certStore
                    }
                }

                # Get site certificate and password from key vault and copy it to Central Certificate Store folder.
                Write-Host "toggleCert: $(toggleCert)"
                if($(toggleCert)) {
                    $kvSecretBytes = [System.Convert]::FromBase64String("$(cert)")
                    $certCollection = New-Object System.Security.Cryptography.X509Certificates.X509Certificate2Collection
                    $certCollection.Import($kvSecretBytes,$null,[System.Security.Cryptography.X509Certificates.X509KeyStorageFlags]::Exportable)

                    $protectedCertificateBytes = $certCollection.Export([System.Security.Cryptography.X509Certificates.X509ContentType]::Pkcs12, "$(passCert)")
                    $pfxPath = "$(certStoreFolder)" + "\" + "$(websiteName).pfx"
                    Write-Host "Copying certificate to $pfxPath"
                    [System.IO.File]::WriteAllBytes($pfxPath, $protectedCertificateBytes)
                }

          - task: IISWebAppManagementOnMachineGroup@0
            displayName: 'Create App Pool and Website'
            inputs:
              WebsiteName: '$(websiteName)'
              WebsitePhysicalPath: '%SystemDrive%\inetpub\wwwroot\$(websiteName)'
              CreateOrUpdateAppPoolForWebsite: true
              AppPoolNameForWebsite: '$(websiteName)'
          - task: PowerShell@2
            inputs:
              targetType: 'inline'
              script: |
                Write-Host "toggleCert: $(toggleCert)"
                if($(toggleCert)) {
                  Write-Host "Adding SSL certificate binding."
                  $binding = Get-WebBinding
                  foreach($b in $binding) {
                    if ($b.protocol -eq "https" -and $b.bindingInformation -like "*$(websiteName)") {
                      Write-Host "Binding already exists."
                      exit 0
                    }
                  }
                  New-WebBinding -Name "$(websiteName)" -sslFlags 3 -Protocol https -IP * -Port 443 -HostHeader ("$(websiteName)")
                  New-Item -Path "IIS:\SslBindings\!443!$(websiteName)" -sslFlags 3
                }
          - task: IISWebAppDeploymentOnMachineGroup@0
            displayName: 'Deploy IIS Website'
            inputs:
              WebSiteName: '$(websiteName)'
              Package: '$(System.ArtifactsDirectory)\**\*.zip'
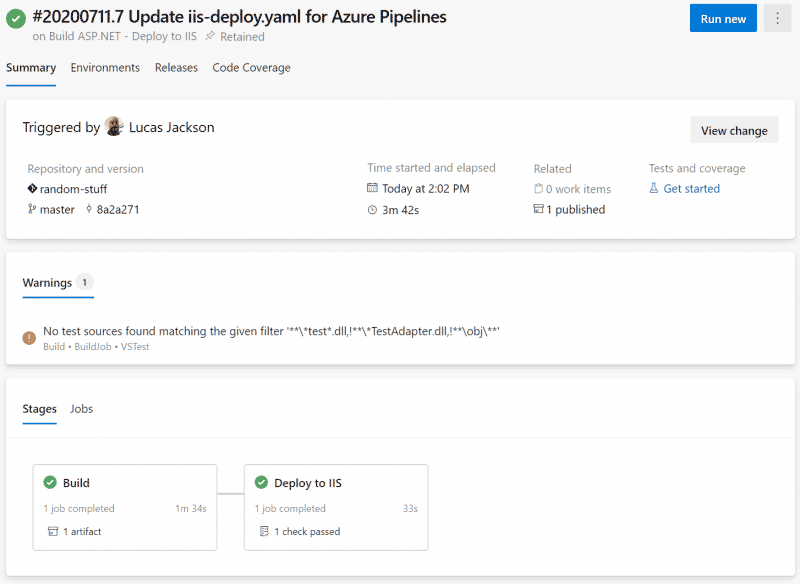
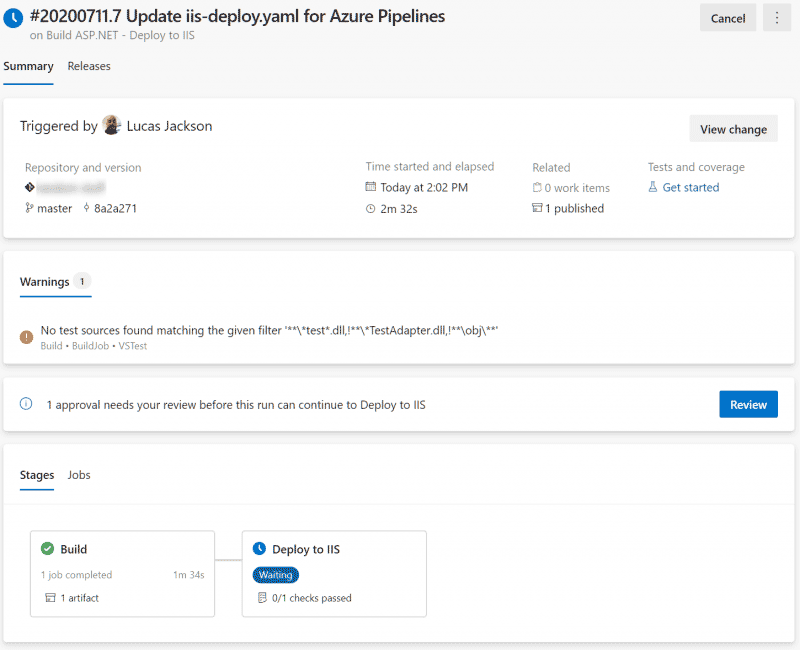
- Save and run your pipeline.
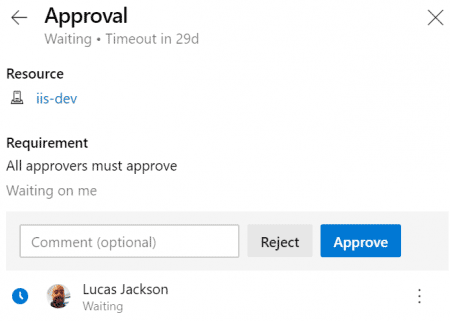
Here is a successful execution. My Environment is set up with an approval check. An authorized approver can approve or reject the release.
Validation
-
Log into a server to which you successfully deployed.
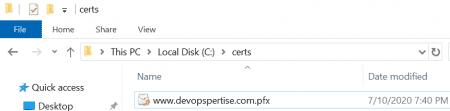
-
Verify the certificate is copied to the folder you specified.
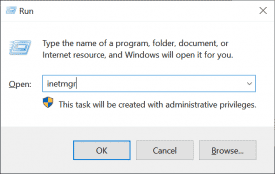
- Launch IIS Management Console.
- Open Centralized Certificates, confirm configuration.


- Check that the website is created IIS Management Console.
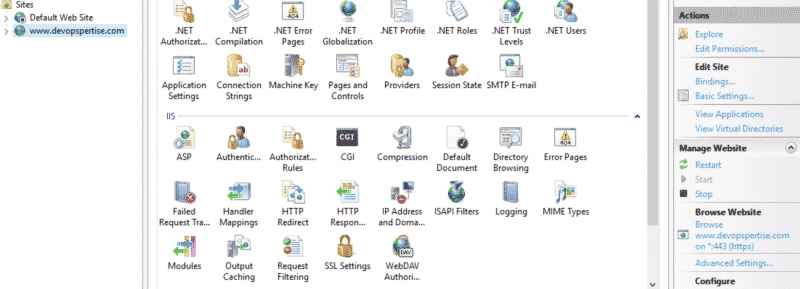
- Verify website is running.